Hobby maker
Start with a photo of a small object, ornament, or character and generate a rough form for a quick physical experiment.
You get a tangible reference for proportions, pose, and silhouette before spending time on detailed sculpting.
Print-ready concepts
hi3d for 3d printing helps you move from a reference, sketch, or product idea to a tangible test piece without modeling every detail from scratch. Use the generated form as a starting point, then inspect and prepare it for your printer and material.
Why it matters
The hardest part is often not the printer. It is getting from a visual reference to a usable form quickly enough to test, revise, and communicate the idea.
Practical routes
Choose the route that matches your starting material. Each workflow keeps the first pass focused on shape and iteration, not perfection.
Start with a photo of a small object, ornament, or character and generate a rough form for a quick physical experiment.
You get a tangible reference for proportions, pose, and silhouette before spending time on detailed sculpting.
Use a concept image to explore a housing, accessory, or display object in three dimensions before committing to CAD refinement.
The generated mesh helps communicate volume and direction during early design reviews.
Turn a written description into a character, prop, or decorative form that can guide a sculpting and test-print session.
Text-led exploration gives you more variations to compare before selecting one model to refine.
Build a personalized figurine or keepsake from a portrait, pet image, or themed reference for a small-batch print.
A recognizable concept can be tested at low scale before you prepare the final deliverable.
Use an AI-generated starting mesh as a blockout, then clean topology, adjust proportions, and add the details your scene needs.
You spend more time on creative decisions and less time building the first rough volume.
Output checklist
A generated model is best treated as a strong concept mesh, not an automatic guarantee of successful fabrication. Compare the first pass against the checks below before slicing.
| Generated concept | Prepared test piece | |
|---|---|---|
| Primary use | Fast visual exploration and shape blocking | Small physical test of the intended form |
| Geometry | May include uneven surfaces, gaps, or soft details | Closed, inspected geometry with obvious defects corrected |
| Scale | Created at a convenient scene size | Set to real dimensions for the printer and material |
| Thin features | May contain fragile fins, handles, or wall sections | Weak details thickened or simplified for durability |
| Overhangs | Not necessarily optimized for a particular print direction | Orientation and supports considered before slicing |
| File handoff | Mesh exported for inspection and cleanup | Validated STL or another slicer-compatible format |
| Surface detail | Texture can be attractive but impractical at small scale | Details sized to the nozzle, layer height, and material |
| Expected result | Useful starting point for iteration | A controlled test piece with known limitations |
Simple process
Treat every generated model as an editable design file. A short preparation pass protects print quality, material use, and the people who will handle the finished object.
Choose the smallest useful version of the object and decide what you are testing: silhouette, fit, pose, balance, or surface appearance.
Check for non-manifold areas, disconnected shells, paper-thin walls, unsupported overhangs, trapped volumes, and details that will disappear at the chosen scale.
Run a conservative test with suitable orientation and supports. Compare the result with the concept, record changes, and refine the mesh before making a larger or repeated print.
From mesh to object
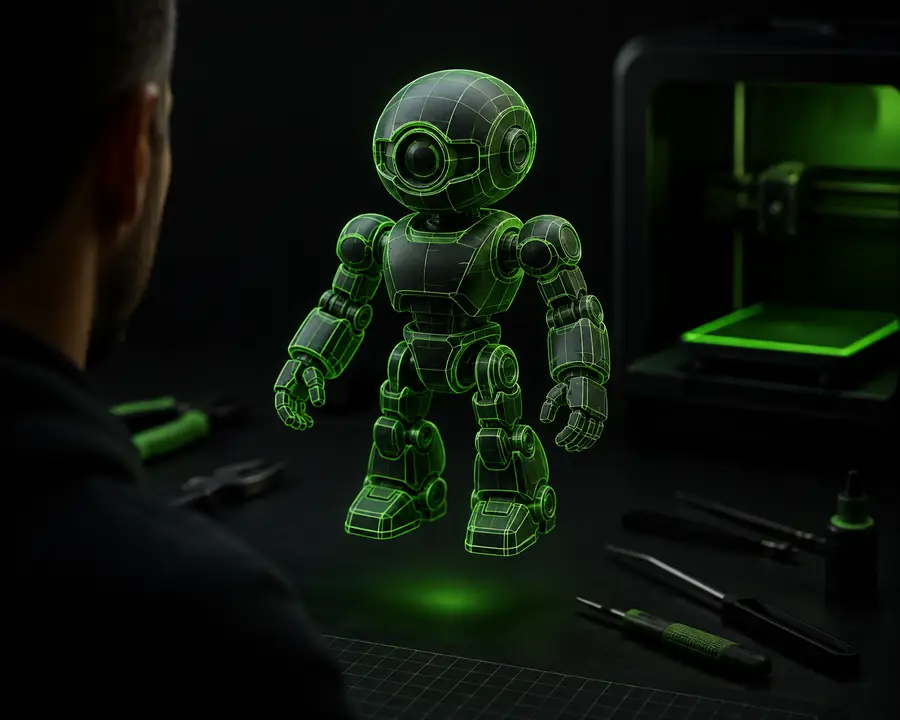
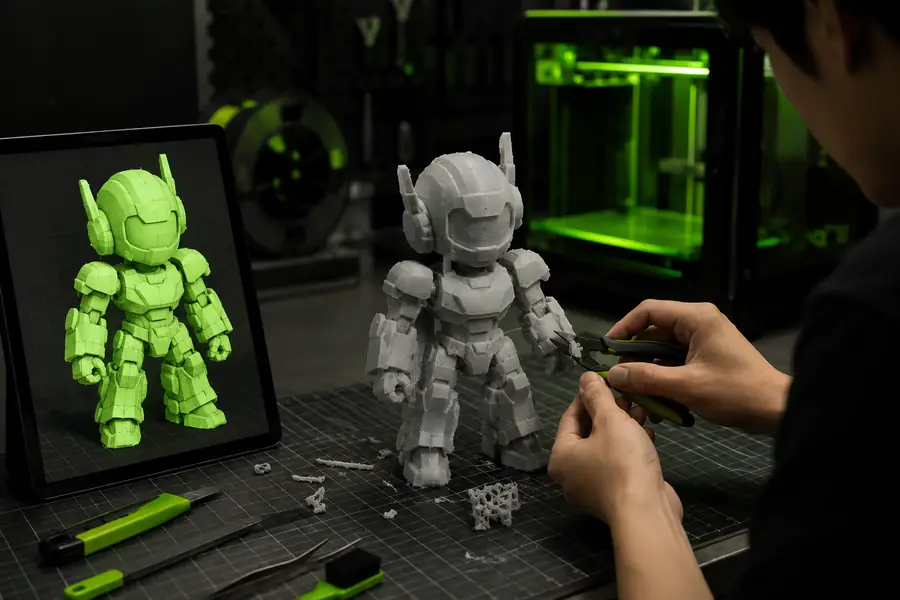
Can ChatGPT create 3D models for printing? ChatGPT can help describe an object, develop prompts, and plan a modeling workflow, but a printable result still needs a dedicated 3D generation or modeling tool, mesh inspection, slicing, and physical testing. hi3d is useful when you want to turn an image or text idea into a starting 3D form, then prepare that form for your own printer workflow. Is an AI-generated model automatically ready for a printer? No. AI geometry can contain holes, overlapping surfaces, fragile details, or proportions that look fine on screen but fail at small scale. Check the mesh in your preferred editor or slicer, confirm dimensions, and preview supports and layers before printing. What should I print first? Start with a small, low-risk test that reveals the most important uncertainty. For a figurine, test the pose and silhouette. For a functional object, test fit and clearance. For a decorative piece, test thin features and surface detail. A first print is evidence for the next revision, not a final quality verdict. Can I use generated models commercially? Review the rights attached to your source images, prompts, generated output, and any third-party references. Also consider trademarks, recognizable characters, patented forms, and local product-safety requirements. When the result will be sold or used around children, heat, food, or load-bearing parts, obtain appropriate professional review before production.
Generated conceptPrepared print test