Hi3dai
English

Image workflow

Build from a reference with hi3d image to 3d

Hi3d image to 3d turns a single visual reference into a navigable 3D starting point. Upload a product photo, character sketch, object shot, or concept image and let the image-led workflow establish shape, volume, and surface direction.

1
reference image to begin
3D
editable model output
Fast
first-pass concept workflow
Start creating

Capability split

The three things only image input does

The image route gives hi3d visual evidence that text alone cannot provide. It is designed for a fast first interpretation, not a replacement for every modeling decision.

  1. 1

    Read visible form

    Hi3d studies the silhouette, proportions, major planes, and recognizable features in the uploaded image. A clean subject against a simple background gives the strongest signal.

  2. 2

    Infer hidden volume

    The system estimates depth behind the visible surface, connecting front-facing clues into a complete object. This is especially useful for figurines, props, product concepts, and simple creatures.

  3. 3

    Return a workable base

    You receive a 3D starting point that can be inspected, adjusted, textured, or taken into a broader production workflow. Treat the first result as a draft with useful geometry, not a final scan.

Built for creators

How to start

A focused image workflow helps each type of creator move from reference to model without writing a long prompt or reconstructing the object from scratch.

Product designers

Upload a clean image of a package, lamp, accessory, or small consumer object to establish a visual blockout before detailed CAD work.

Use the generated form to review proportions, explore variations, and communicate a concept earlier. For prompt-led alternatives, compare it with hi3d text to 3d, which starts from written intent instead of a reference image.
hi3d text to 3d

Game artists

Feed hi3d a character, prop, creature, or environment reference when you need a rough asset direction before retopology and production detailing.

Get a tangible model to inspect from multiple angles, identify missing forms, and decide what deserves manual cleanup. The visual input keeps the first pass closer to the supplied design.

hi3d text to 3d

3D printing hobbyists

Start with a photo or illustration of a figurine, ornament, toy, or display object that you want to explore as a physical shape.

Use the model as a printable-development draft after checking walls, overhangs, scale, and manifold behavior in your preferred preparation software. Image evidence makes the concept easier to preserve.

hi3d text to 3d

Educators and visual storytellers

Turn a classroom sketch, prop reference, or illustrated character into a model students and collaborators can rotate and discuss.

Hi3d makes spatial ideas easier to explain because the group can evaluate the object from several viewpoints rather than relying on a flat picture alone.

hi3d text to 3d

Workflow gains

What the image route accelerates

The biggest benefit is not automatic perfection. It is the time saved before hands-on modeling begins, when a team is still testing shape, direction, and feasibility.

A single clear reference can establish the first modeling direction.
1 image
A 3D result lets you inspect the concept beyond its original camera angle.
360 degrees
Review silhouette, hidden depth, and surface continuity before detailed refinement.
3 checks
Use the first output as a shared visual baseline for the next decision.
1 draft

Visual result

From flat reference to spatial draft

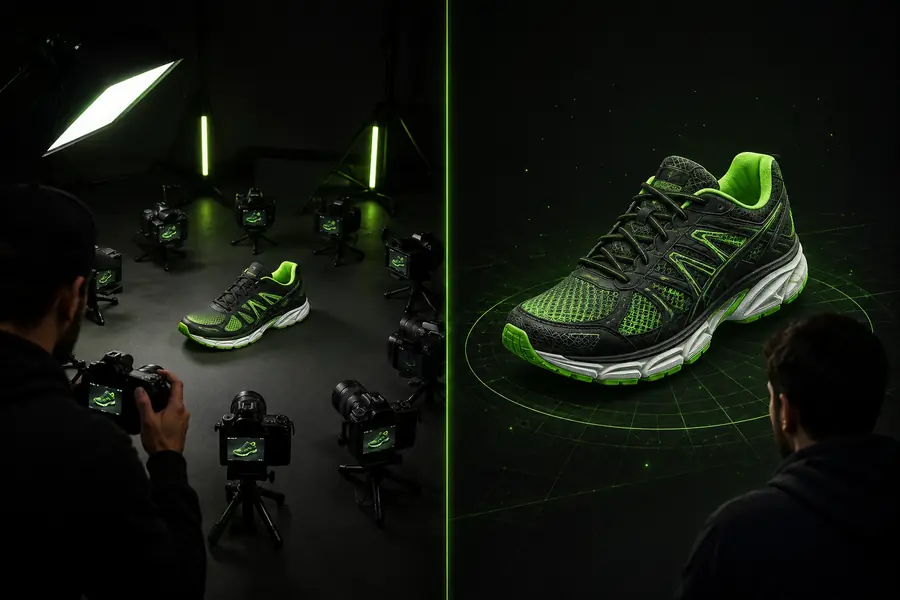
The before-and-after view illustrates the role of hi3d: preserve the recognizable visual idea while adding a form that can be rotated and developed.

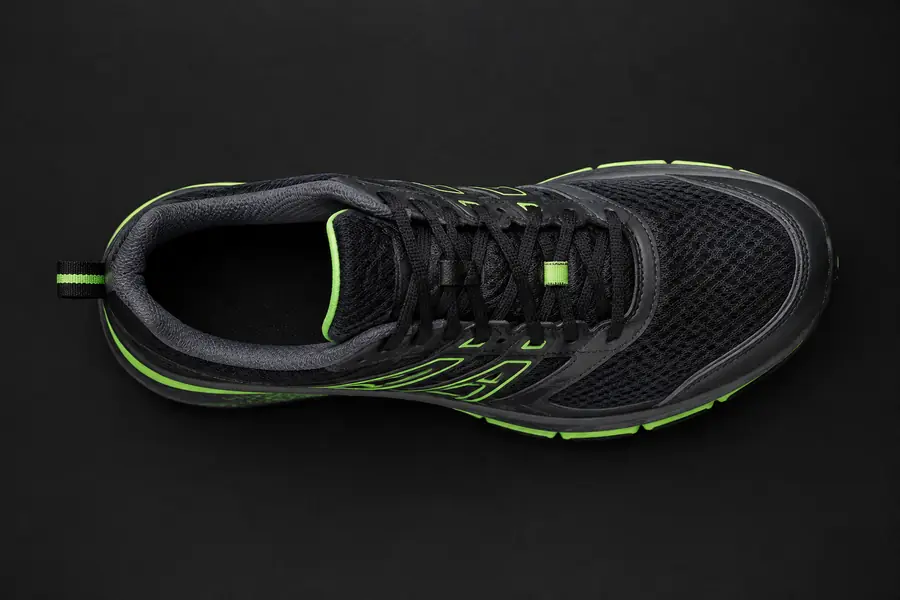
Flat object reference image
Reference image
Generated 3D object draft
3D starting point

The generated result may reinterpret hidden sides, small details, and materials. Compare the overall silhouette first, then decide which areas need manual modeling or texture work.

Reference image3D starting point

Choose the right route

Image entry point vs the general generator

Both routes belong in the same creation toolkit, but they answer different starting questions. Choose image input when you already have visual evidence; choose the general route when the idea is still primarily verbal.

Image-to-3D entry General Hi3d generator
Starting material One visual reference such as a photo, sketch, or concept image A broader creation request that may begin with an idea or prompt
Best for Reconstructing or interpreting a visible subject Exploring concepts before a specific visual reference exists
Main signal Silhouette, visible proportions, color cues, and surface landmarks Written intent, style direction, and descriptive constraints
Hidden geometry Estimated from the visible evidence and object context Invented from the description and learned shape patterns
Prompt burden Usually lower because the image carries much of the description Usually higher when shape, material, and style must be described
Control after generation Inspect the draft, then refine geometry, scale, and details externally Iterate the concept by changing the request and regenerating
Strongest first result A recognizable blockout tied to the supplied subject A creative interpretation aligned with the requested idea

Estimate the gain

See how reference volume changes the first pass

Use the slider as a planning aid. It estimates how many visible object views a small reference set might replace during early blocking; it is not a quote or a guarantee.

Estimated draft surfaces reviewed

surface cues

Early blockout time saved

hours

Suggested review passes

passes