Practical tutorial
How to use hi3d for your next 3D project
This guide to how to use hi3d walks through the complete image-to-model workflow, from preparing a reference image to reviewing and exporting the generated asset. The best results come from giving the model a clean subject and checking the output with realistic expectations.
- 3 steps
- Core workflow
- 1 image
- Starting input
- 3D output
- Reviewable result
Before you begin
Prerequisites
Prepare the input before opening the generator. A few minutes of cleanup can make the difference between a recognizable model and a difficult result.
-
1
Choose one clear subject
Use a reference image with one main object, a visible silhouette, and enough separation from its background. Product photos, toys, figurines, furniture, animals, and simple props are easier starting points than crowded scenes. Remove unrelated objects, people, text, and heavy reflections whenever possible.
-
2
Check the important surfaces
Make sure the front, sides, and top of the object are not hidden by hands, packaging, deep shadows, or extreme cropping. If the rear side is absent from the image, expect the generated model to contain an inferred approximation rather than measured geometry.
-
3
Decide how you will review it
Know whether the result is for a visual mockup, a game concept, a Blender scene, or physical fabrication. That purpose determines how closely you need to inspect topology, thin parts, scale, watertightness, and texture detail after generation.
Input checklist
Numbered steps
Once the reference is ready, follow the workflow in order. Do not judge the asset only from the first preview; generation and inspection are separate parts of the process.
-
01 — Open the image-to-3D workflow and select a supported reference image. — Use a sharp, well-lit image with the subject filling much of the frame.
-
02 — Upload the image and wait for the initial reconstruction. — Keep the browser open while the model is being processed, and avoid replacing the input midway through the run.
-
03 — Rotate the preview from several angles. — Look for missing backs, collapsed cavities, floating pieces, uneven symmetry, and stretched details.
-
04 — Compare the output with the original reference. — Separate visual similarity from technical quality; a recognizable shape may still need cleanup.
-
05 — Export or continue editing in the tool that matches your goal.optional — For further control, move the result into a 3D editor and repair scale, materials, topology, or unsupported details.
Common errors and fixes
These related workflows cover nearby ways to create or use a 3D asset when the first image-based attempt is not the right fit.
- image to 3d model Use a broader image-to-3d model workflow when you want to compare reference preparation and output options.
- 2d to 3d model Explore 2d to 3d model methods when a flat illustration, sketch, or concept sheet is your starting point.
- hi3d image to 3d Review the hi3d image to 3d workflow for a focused look at turning a single visual reference into geometry.
Quality check
Advanced tips
A useful result is not only recognizable; it should also hold up when viewed from angles that were not present in the source image.
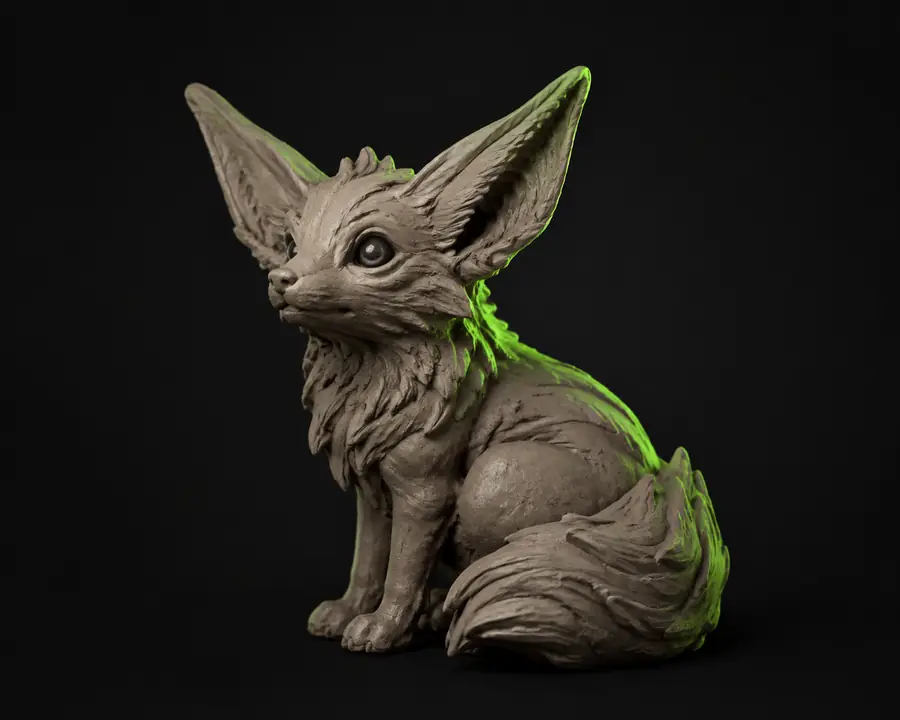
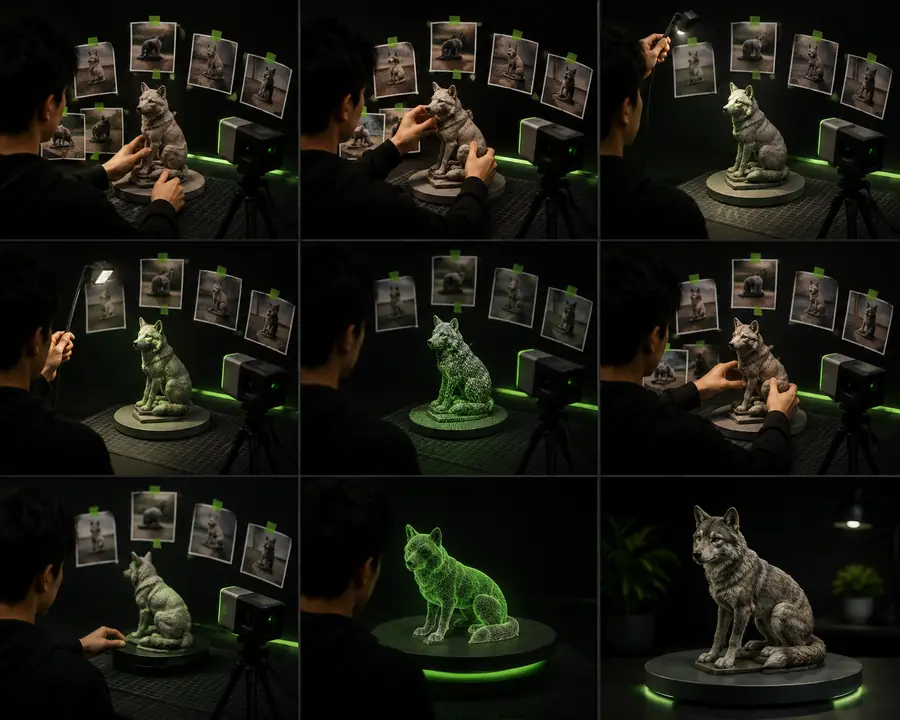
Tutorial FAQ — How can I create a 3D model from an image? Start with a clean image of one object, upload it to the image-to-3D workflow, inspect the reconstruction from every angle, and then export it for any required cleanup. For better results, use strong lighting, a simple background, and a subject whose important contours are visible. Treat the first output as a starting asset rather than a guaranteed production-ready mesh.
Reference imageGenerated modelWorkflow context
Tutorial FAQ
Image-based 3D generation has developed from simple visual experiments into a practical first pass for many creative workflows. The timeline helps explain why review remains essential.
-
Single-view reconstruction becomes practical
AI-assisted tools began making it possible to infer depth and shape from one ordinary image. This lowered the barrier for creators who did not have multiple photographs, a scanner, or traditional modeling experience.
-
Image quality becomes the main control
As generation improved, creators learned that the input image strongly influences the result. Clean silhouettes, visible surfaces, balanced lighting, and uncluttered backgrounds became reliable ways to improve consistency.
-
Rotation checks enter the normal process
A front-facing preview can hide major problems on the sides and rear. Reviewing the model from multiple angles became a standard step for finding holes, distortions, merged parts, and invented geometry.
-
Generated assets move into existing tools
The generated model is increasingly used as a base for illustration, prototyping, Blender editing, game exploration, product visualization, and fabrication preparation rather than as the final asset in every case.
-
Human judgment remains part of the workflow
The fastest process combines automated reconstruction with deliberate inspection. Creators decide whether the output is accurate enough for its purpose, what needs repair, and whether another reference or modeling method would be more suitable.
Know the limits
What this route cannot do
An image-to-3D result is an informed reconstruction, not a scan with guaranteed measurements. Plan a cleanup pass whenever accuracy or technical reliability matters.
It cannot recover hidden geometry exactly
A single image does not show every side, cavity, underside, or internal structure. The system may fill missing areas with a plausible approximation that looks reasonable but differs from the real object.
What to do instead
Provide additional views when the workflow supports them, or manually model the hidden surfaces after export.
It cannot guarantee production-ready topology
The output may contain uneven polygon flow, small holes, merged components, floating fragments, or dense areas around important details. Visual similarity does not prove that the mesh is ready for animation or fabrication.
What to do instead
Inspect the mesh in a 3D editor, repair visible defects, simplify or retopologize where needed, and validate the final file for its destination.
It cannot infer exact real-world scale
The model is generally created from visual proportions rather than a known measurement. A chair, figurine, or product may look correct while being the wrong size for a scene or printer.
What to do instead
Set a reliable dimension using one known measurement, then apply scale consistently before export or printing.
It cannot replace a suitable reference
Blur, dramatic perspective, transparent materials, reflective surfaces, occlusion, multiple objects, and low contrast can all reduce the quality of reconstruction.
What to do instead
Retake or edit the image with even lighting, a plain background, a centered subject, and enough margin to preserve the complete silhouette.