Indie game creator
You have a character, prop, or creature concept but not enough time to model every variation by hand.
Generate several visual directions, choose a promising silhouette, and use it as a reference for a game-ready asset.
Browser-based 3D
hi3d online gives creators a focused browser workspace for turning ideas into 3D model drafts. Describe an object or provide a visual reference, then review the generated result before deciding what deserves more work.
Built for real projects
Hi3d is most useful when the first version matters more than a perfect first pass. These common workflows show where a browser-based generator can shorten the distance between an idea and a workable asset.
You have a character, prop, or creature concept but not enough time to model every variation by hand.
Generate several visual directions, choose a promising silhouette, and use it as a reference for a game-ready asset.
A product sketch or reference image needs a dimensional concept before detailed CAD or visualization work begins.
Turn the visual brief into a rough 3D form that helps communicate proportion, shape, and presentation direction.
You want to explore a figurine or decorative object without starting from a blank Blender scene.
Use a generated model as a concept base, then inspect and repair the geometry before preparing it for fabrication.
You need rough geometry to block a scene, test a composition, or accelerate an early modeling pass.
Bring a generated starting point into a familiar 3D workflow and spend more time on refinement than setup.
Workflow comparison
The value of Hi3d is not only the generation step. It is the combination of simple inputs, fast visual feedback, and a handoff point for deeper production work.
| Hi3d online | Traditional first pass | |
|---|---|---|
| Starting input | Text description or reference image | Blank scene, sketch, or manual blockout |
| Early ideation speed | Useful draft in a short session | Often requires several modeling decisions first |
| Visual exploration | Try alternate subjects and directions quickly | Each variation takes additional manual work |
| Geometry control | Limited during automatic generation | Direct control over topology and dimensions |
| Best production role | Concepting, blockouts, references, and rough assets | Detailed, optimized, production-ready modeling |
| Skill threshold | Accessible to beginners and non-modelers | Usually depends on software knowledge |
| Review point | Preview the result before committing to refinement | Evaluate after more setup and manual construction |
| Handoff | Continue in a dedicated 3D editor when needed | Already inside the editor, but starting from zero |
Simple operating loop
A good result starts with a clear subject and ends with a deliberate review. Treat the generated model as a fast draft, not as a substitute for every production stage.
Choose a clear subject and provide either a concise text prompt or a useful reference image. Mention the form, style, materials, and view you care about most.
Let Hi3d create the first model, then examine the silhouette, proportions, visible surfaces, and obvious gaps. Compare the result with the original brief.
Keep the strongest direction, improve the input if necessary, and export or transfer the concept into a 3D editor for cleanup, topology, materials, or scene work.
Draft versus direction
The strongest use of Hi3d is often directional: it helps you decide what to build before you invest in a detailed production asset.
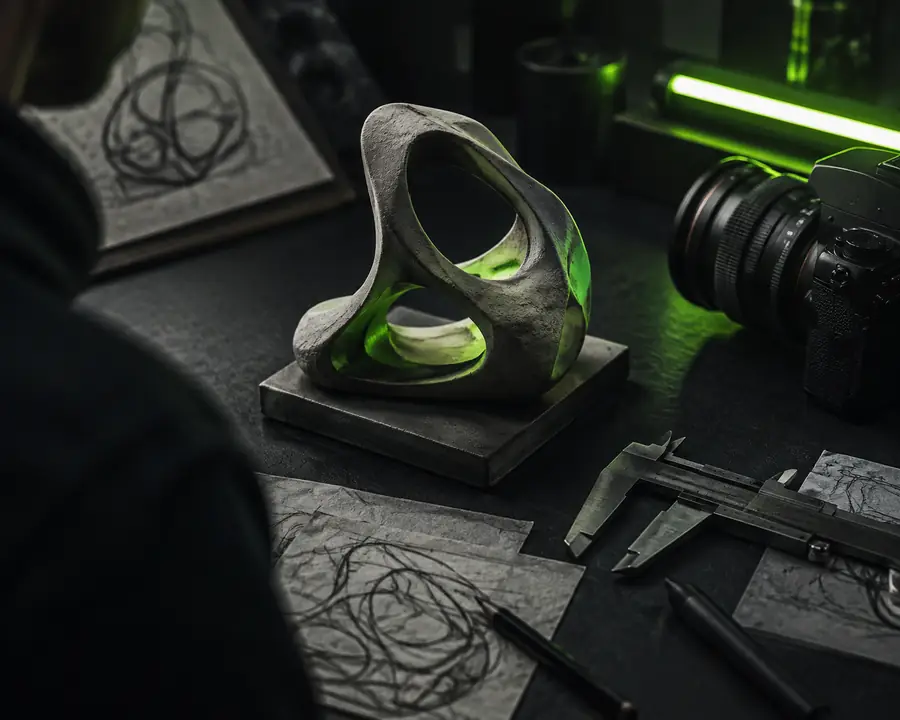
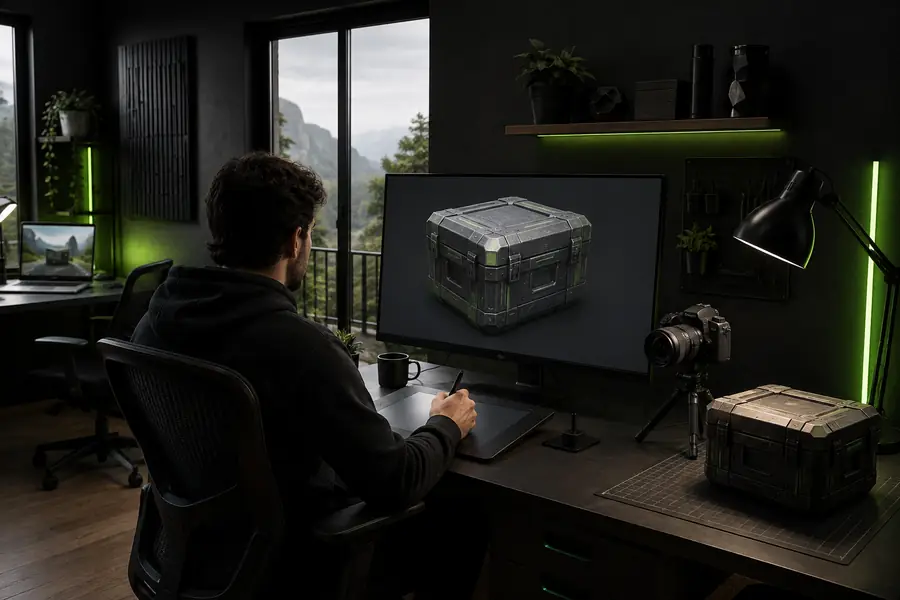
The comparison represents a change in format and perspective, not a promise of perfect one-click conversion. Always inspect the result against the source and the needs of your final project.
Reference ideaGenerated 3D draftKnow the edges
Hi3d can remove the blank-page problem, but it does not remove judgment. Knowing the limits helps you choose the right next step instead of expecting every draft to be final.
Small features, thin parts, hidden surfaces, and complex mechanical details can be simplified or interpreted incorrectly.
What to do instead
Use a clearer reference, describe the important features explicitly, and rebuild critical details in a 3D editor.
A generated surface can be visually convincing while still needing retopology, cleanup, or remeshing for animation and production.
What to do instead
Treat the output as a blockout or reference until edge flow and polygon density have been checked.
A single view leaves unseen sides and depth ambiguous, so the back or underside may not match your intent.
What to do instead
Provide the strongest available reference and plan a review pass for every important angle.
A model is not automatically watertight, scaled, supported, or suitable for a particular printer and material.
What to do instead
Check manifold geometry, wall thickness, scale, orientation, and supports in your printing workflow.
Why creators use it
The practical benefit is not a magic accuracy score. It is the ability to test more directions before committing your time to detailed modeling.
Before you begin
You do not need advanced modeling knowledge to start, but a little preparation makes the generated direction easier to judge and improve.
Define the main subject in one direct sentence — Name the object before adding style or context.
Choose a clear reference image or focused prompt — Avoid cluttered images and descriptions with several unrelated subjects.
State the features that must survive the first pass — Call out silhouette, accessories, proportions, or distinctive surfaces.
Decide how the model will be used — A concept reference, game blockout, render, and print draft have different standards.
Prepare a 3D editor for cleanupoptional — Useful when you need topology edits, materials, rigging, or precise dimensions.
Plan a review from multiple anglesoptional — Especially important for objects intended for printing, animation, or close-up rendering.